Grilling the Perfect Pizza
Grilling the Perfect Pizza
Grill Recipe by Anthony Serrano
Equipment
-
Bull Grill
-
PizzaQue Pizza Stone
Ingredients
-
choice of dough or bread
-
choice of sauce
-
choice of toppings
Cook Time & Servings
-
Prep Time: 20 minutes
-
Cook Time: 12 - 15 minutes
Intro
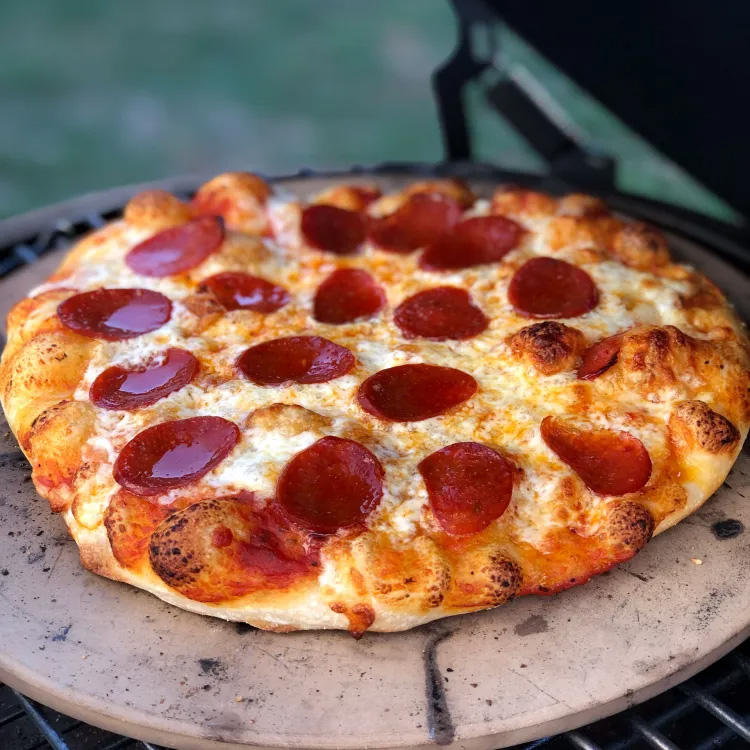
I love ordering pizza as much as the next guy but let’s face it nothing beats the bubbling cheesy goodness of freshly grilled pizza! You might not realize it but cooking a homemade pizza on your Bull Grill will take just about as long as ordering from your favorite pizza joint. The process is made easier and quicker by using store bought pizza dough (yes it exists and is great!), a PizzaQue Pizza Stone, and Bull Grill.
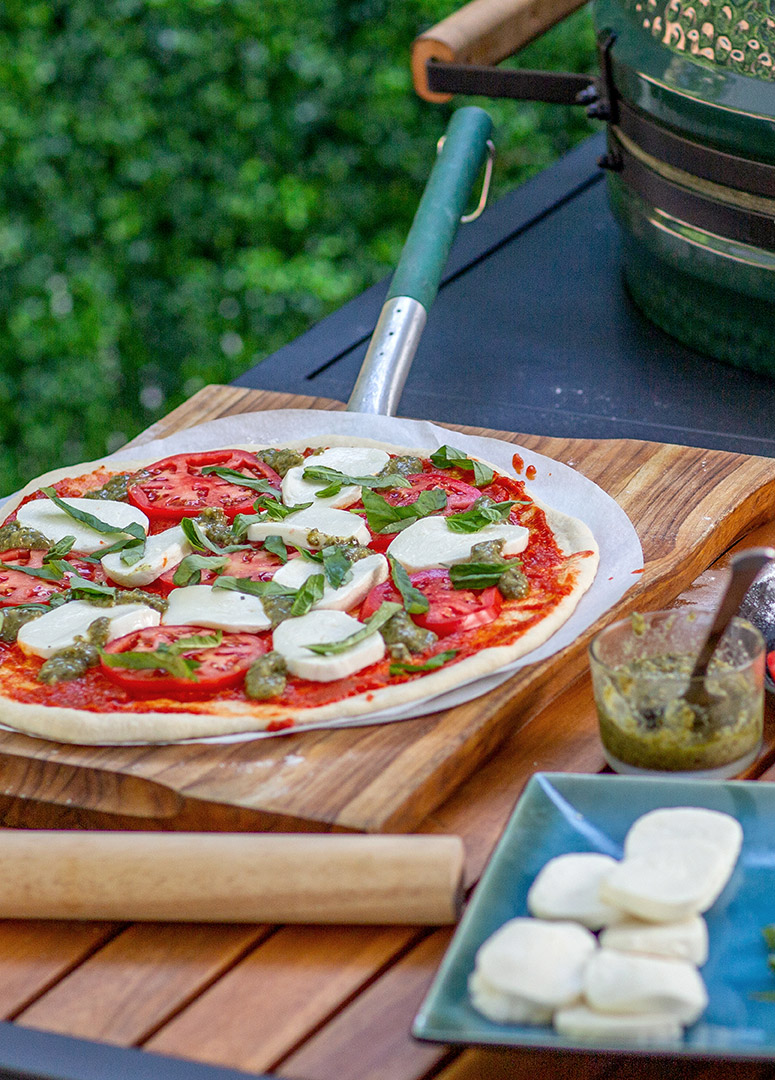
Remember to work quickly and heavily flour your pizza peel so that your pizza slides onto your pizza stone with ease.
When you’re making a pizza at home you’re only limited by your imagination and ingredients! Normally I start off with a pound of pizza dough to make a 12 inch pizza on my PizzaQue Pizza Stone. The process of assembling the pizza can be pretty easy and straightforward. In some stores they sell dough that is already stretched out while other doughs need a little work. In a pinch I’ve also used Naan bread or other styles of flat bread to act as the base for a pizza but the cooking time will be considerably less.
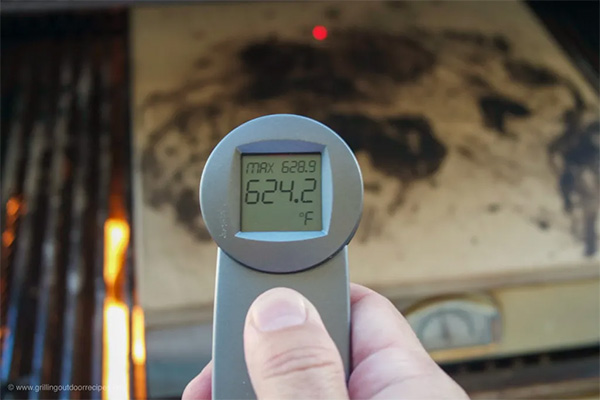
Take your time to make sure your Bull Grill & Bull PizzaQue Pizza Stone are both preheated. I use my Bull Infrared Thermometer to check the surface temperature of the stone. A range of 600-700 degrees Fahrenheit is perfect for a pizza.

Because of the intense heat you’ll be cooking your pizza at, your PizzaQue Pizza Stone is going to start to develop baked on gunk but that is totally normal. One of the things that makes the stone great is the fact that it is porous (which is why it will look dirty) but you need to resist the urge to use soap because soap will soak into your stone. I clean the stone with a little bit of water (DO NOT submerge it in water) and the Bull PizzaQue Stone Scrubber to remove baked on & burnt pieces while keeping my stone smooth. After I clean the stone I let it air dry overnight.
Instructions
-
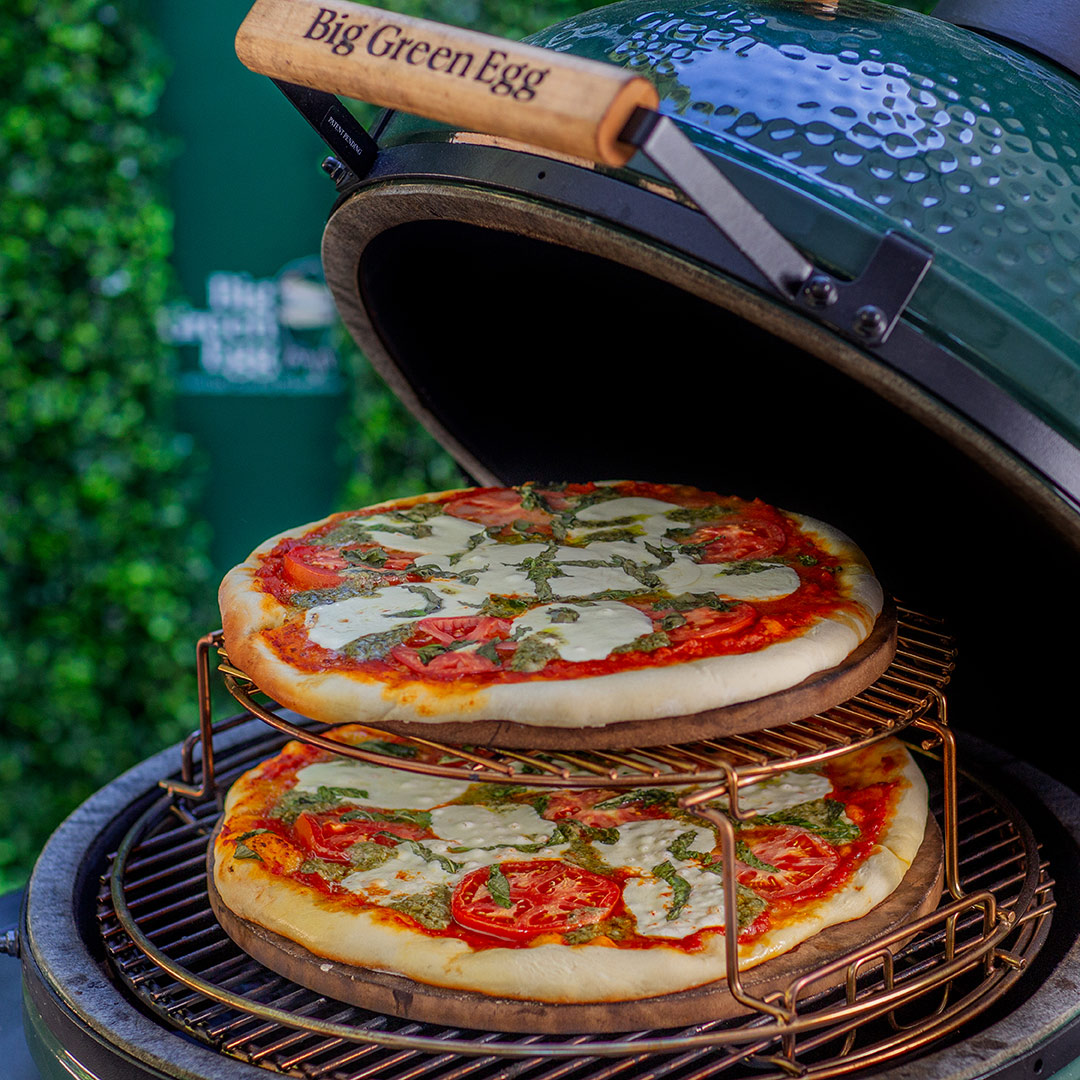
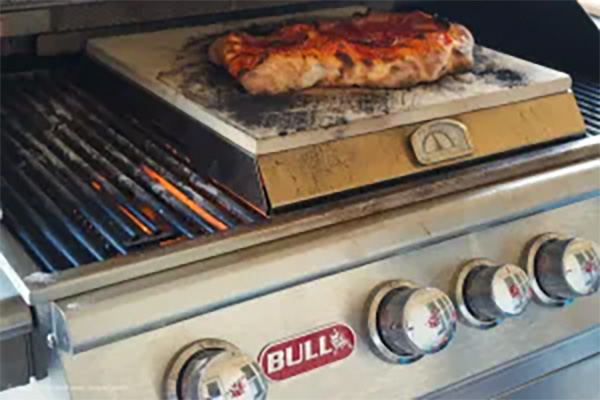
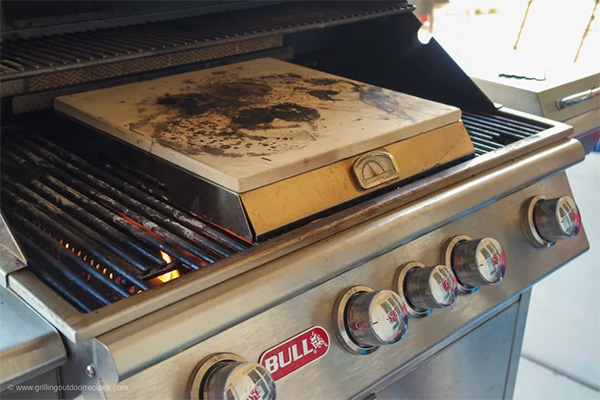 Begin by preheating your Bull Grill and PizzaQue Pizza Stone together. I place my stone in the middle of the grill and turn all my burners to high. Normally after 15-20 minutes I check the grill using my infrared thermometer and once your stone has reached 600-700 degrees it is pizza ready.
 -
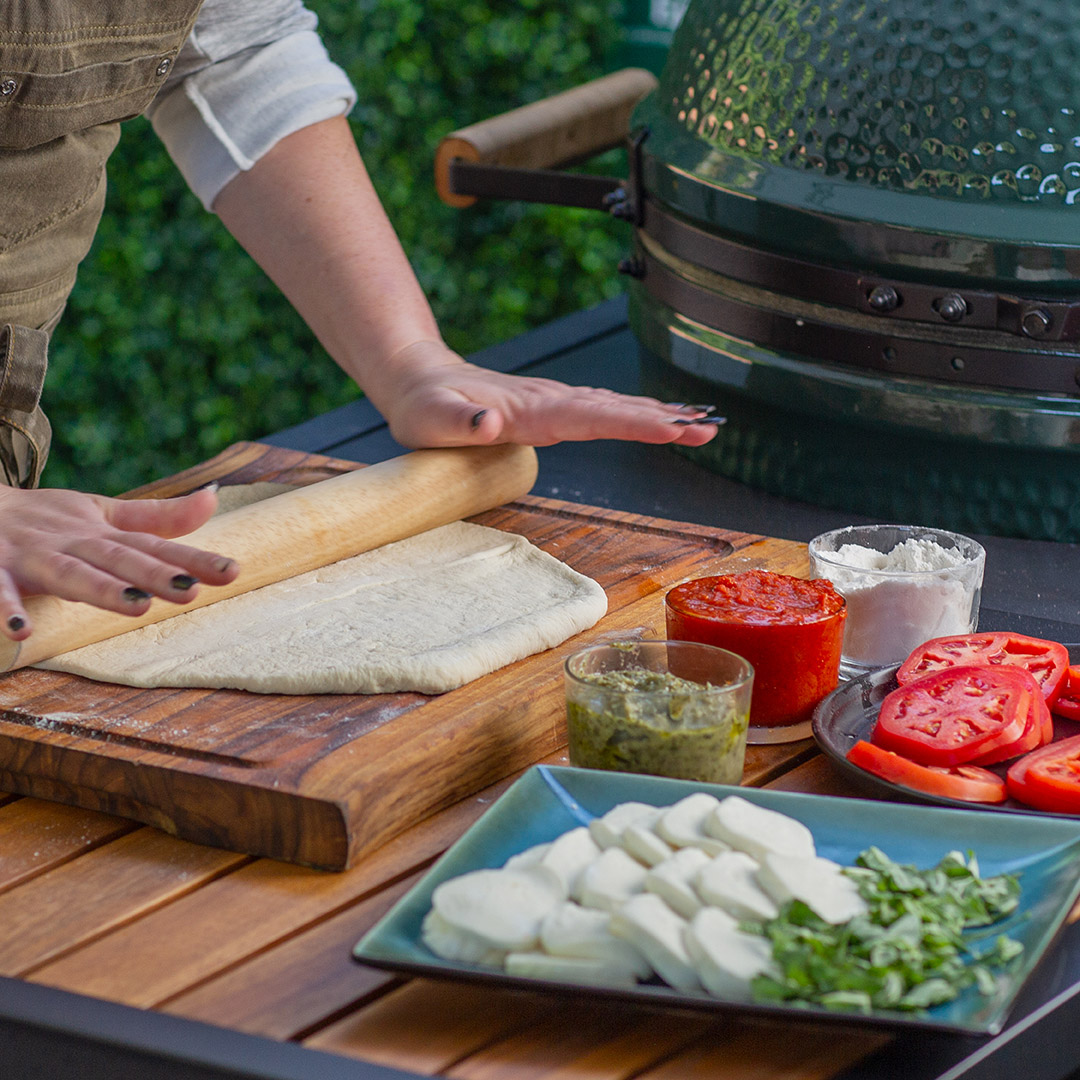
 Prep an area to make your pizza. Start with a clean and heavily floured flat surface. I like using cornmeal but all purpose flour works great to keep your dough from sticking to the surface.
 -
If you’re not comfortable working with dough and throwing it in the air like they do on TV use a rolling pin, wine bottle, or other cylinder shaped object to flatten your dough. The important part of this step is not to overwork your dough. It doesn’t have to be a perfect circle and in fact I think an oval/rectangular pizza tastes better :)!
-
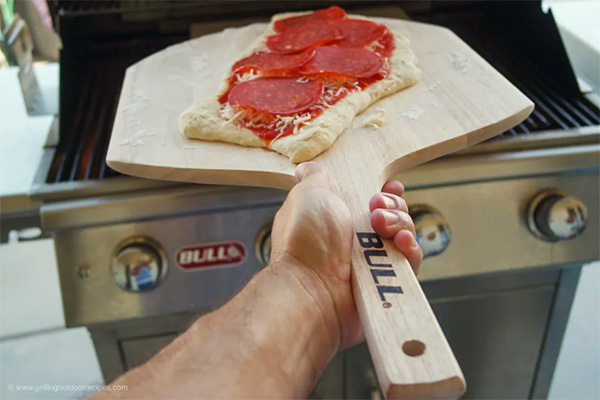
Once you've stretched out your dough quickly transfer it to a heavily floured pizza pan, cutting board, or Bull Pizza Peel. From here on out speed is key so that your pizza doesn't stick to your Pizza Peel.
-
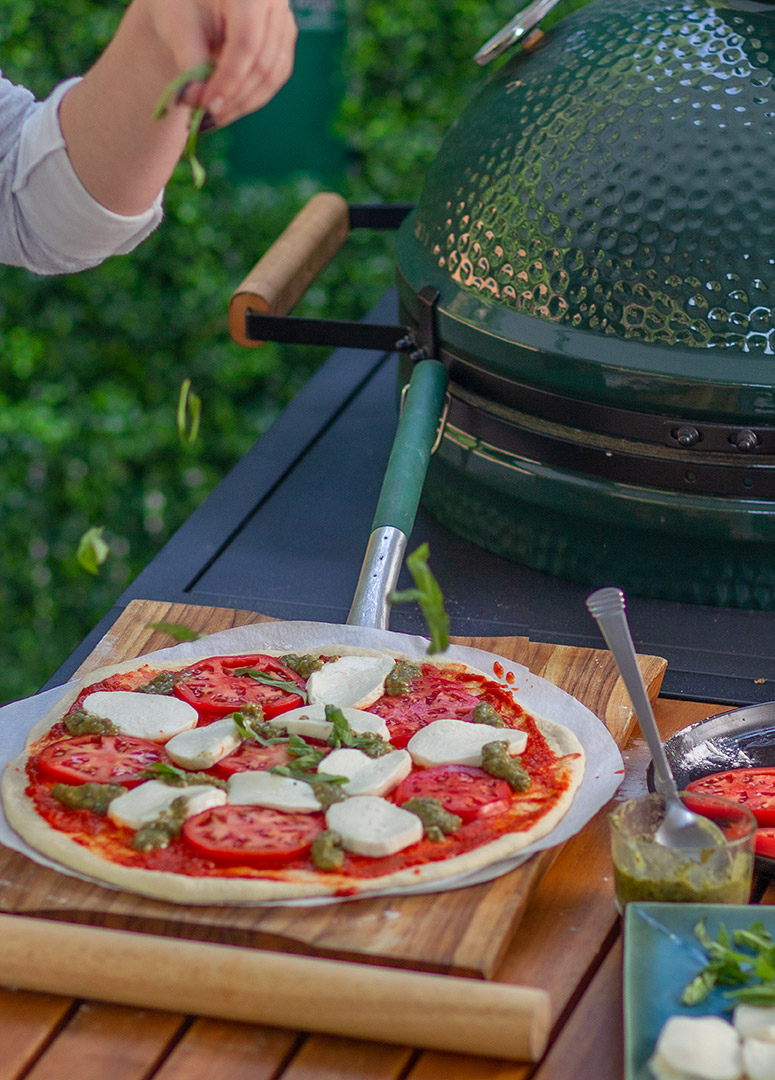
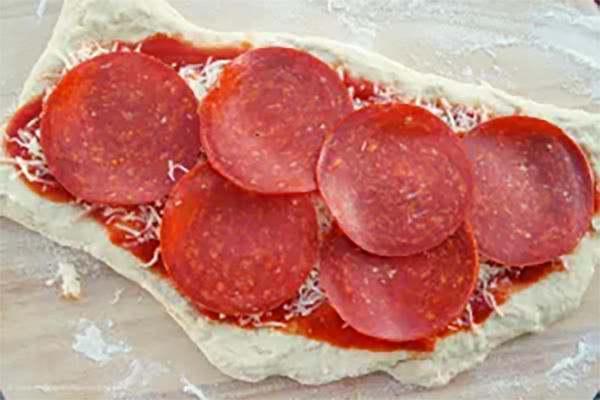 Add your sauce and toppings to the pizza and place on your Pizza Stone.
 -
 If you've worked quickly and heavily floured your pizza peel your pizza should slide off pretty easily on to your pizza stone.
 -
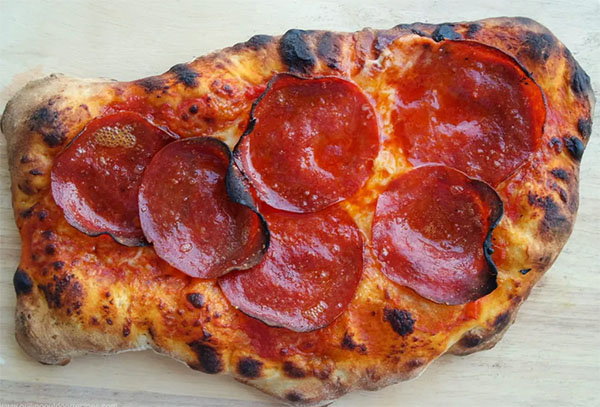
 Close the lid and check your pizza in 5 minutes then turn your pizza 180 degrees with the pizza peel and close the lid for another 5 minutes. After about 10 minutes your pizza should be perfect! Slide the pizza peel under your pizza to check doneness and remove from the stone & grill.
 -
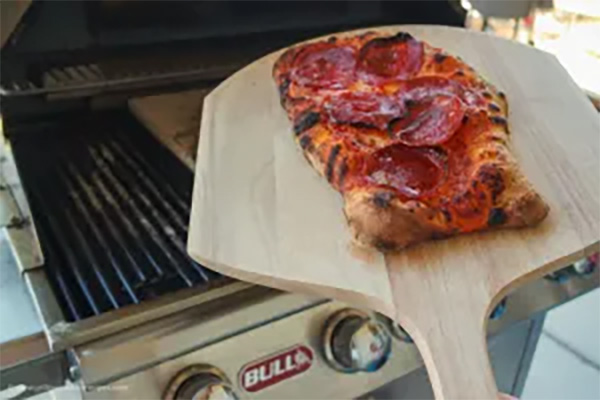 I let my pizza rest at least 2-3 minutes in a warm area before I slice it.
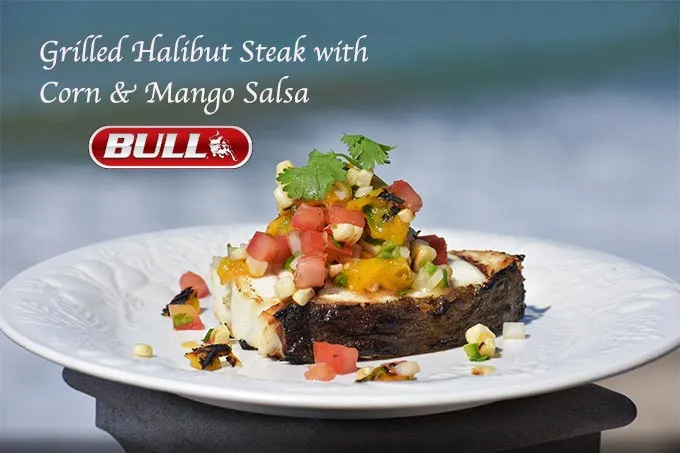
Looking for something diffrent?
Try some of our other featured recipes.